
Free Image Compressor
Compress JPG, PNG and WebP images — processed in your browser, never uploaded.
Compress your images
Compress JPG, PNG and WebP images online for free. Reduce image file size while keeping a good balance between quality and clarity. Your images are processed directly in your browser — nothing is uploaded.
Drag & drop your images here
JPG, PNG and WebP supported · up to 25 MB per image · as many files as you likePrivate by design
Your images are processed locally in your browser. Etemora does not need to upload or store your images to use this image compressor — there is no server step, no account and nothing kept after you close the tab. One thing to know: re-encoding removes embedded metadata such as EXIF camera and location data, so the compressed copy will not carry it.
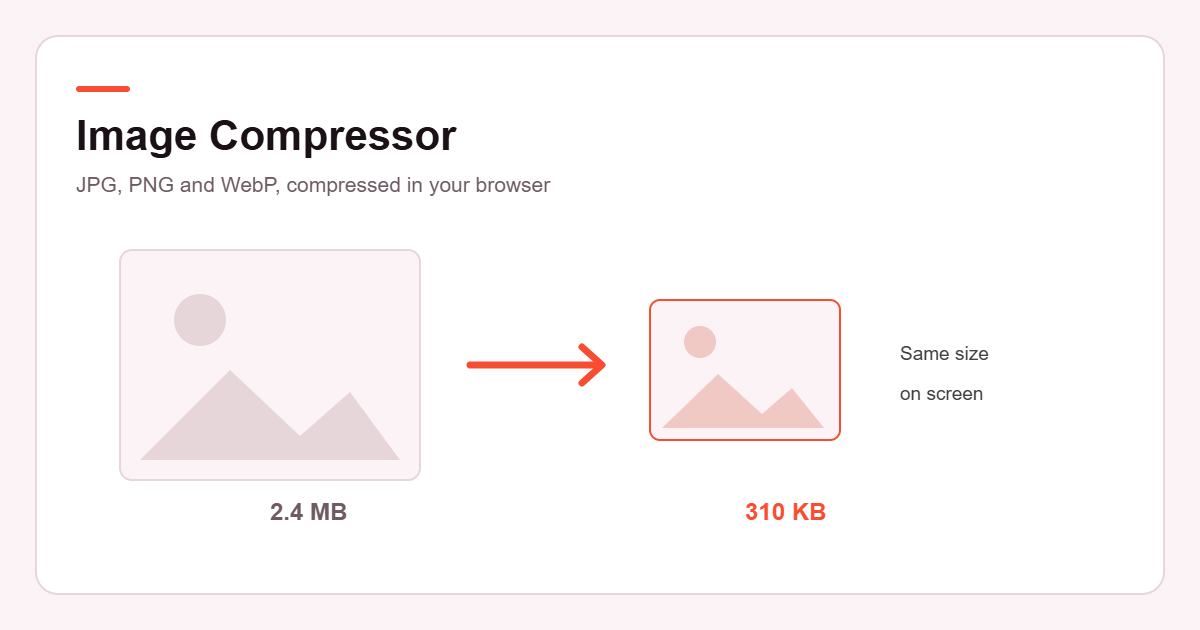
How to Compress an Image
- Drag your images onto the box above, or press Choose Images. You can add several at once.
- Pick a preset, or drag the quality slider to the setting you want.
- Press Compress All, or compress a single image from its own row.
- Check the before and after sizes, and the preview if you want to look closely.
- Download each image, or take the whole batch as a ZIP.
How Does Image Compression Work?
A photograph is a grid of pixels, and storing every pixel exactly would be enormous. Compression finds a shorter way to describe the same picture.
Lossless methods do this without discarding anything: they spot repetition and patterns and write them down more efficiently. Unpack the file and you get back the original pixels, bit for bit. PNG works this way, which is why it is excellent for screenshots, logos and flat graphics with large areas of one colour — and why it is often large for photographs, where almost no two neighbouring pixels are the same.
Lossy methods go further. They throw away detail the eye is least likely to notice — fine variation in colour more than in brightness, subtle texture in busy areas — and keep what matters visually. That is how JPEG and WebP reach file sizes a fraction of the original. The discarded detail is gone for good, which is why the quality setting matters and why you should always compress from the original rather than from an already-compressed copy.
This image compressor uses your browser's own image encoders. When you compress a JPEG at quality 80, the browser re-encodes the picture at that setting; nothing is sent anywhere to make it happen.
JPG vs PNG vs WebP
Choosing the right format usually saves more than any quality slider will.
| Format | Compression | Transparency | Best for |
|---|---|---|---|
| JPG / JPEG | Lossy | No | Photographs. Universally supported, small files, no transparency. |
| PNG | Lossless | Yes | Logos, screenshots, icons, flat graphics, anything needing sharp edges or transparency. |
| WebP | Lossy or lossless | Yes | The web. Typically smaller than both at similar quality, and supported by every current browser. |
A rough rule: photographs belong in JPEG or WebP, graphics with flat colour or transparency belong in PNG or WebP. If a PNG photograph is refusing to shrink, that is not a compression failure — it is the wrong format for the job.
Lossy vs Lossless Image Compression
Lossless keeps every pixel. You can compress, decompress and compress again without the picture degrading, and the result is identical to what you started with. The trade-off is that there is a hard floor on how small the file can get.
Lossy permanently discards some detail to go much smaller. At sensible settings the difference is hard to see; pushed hard it shows as blocky patches, muddy colours, or a faint halo around sharp edges and text.
The important practical point is that lossy compression accumulates. Each save discards a little more, and it never comes back. Keep your originals, and compress a fresh copy rather than repeatedly compressing the compressed version.
How Much Can an Image Be Compressed?
It depends entirely on the image, and anyone promising a fixed percentage is guessing.
A large photograph straight from a phone or camera is usually saved at a very high quality setting and often shrinks a great deal with little visible change. A picture that has already been compressed — something saved off a website, or forwarded through a messaging app — has already had that headroom taken out, and will barely move. A flat graphic or screenshot may not shrink at all as a PNG, yet drop dramatically when converted to WebP.
Rather than predict, the image compressor measures. Every figure you see — original size, compressed size, saved, reduction — is read from the actual files. And if the compressed version comes out no smaller than the original, the tool keeps your original file and says so instead of pretending it achieved something.
Does Compressing an Image Reduce Quality?
With lossy compression, yes — some detail is discarded by definition. The real question is whether you can see it.
Around quality 75 to 85, most photographs look essentially unchanged at normal viewing size, while the file often drops by more than half. Below about 50 the losses start to show, particularly in smooth gradients like skies and around text or sharp edges. Images with fine text, thin lines or large flat areas of colour suffer earliest.
The image compressor shows the compressed result next to the original so you can judge for yourself, and it warns when you choose an aggressive setting. What it does not do is analyse perceived quality — no automatic score can replace looking at the picture at the size it will actually be used.
Are My Images Uploaded or Stored?
No. Everything happens inside your browser. Your file is read locally, decoded, redrawn onto a canvas and re-encoded by the browser's own image encoder. The compressed result is handed straight back to you as a download.
Your images are never sent to an Etemora server, never passed to an outside compression service, and never written to our database. There is no account and nothing to sign up for. Close the tab and nothing remains.
Two honest caveats. First, re-encoding strips embedded metadata — EXIF camera settings, timestamps and any GPS coordinates will not be in the compressed copy. For most people that is a privacy benefit, but if you need that data, keep your original. Second, the page itself loads over the network and Etemora uses ordinary website analytics, which records that the page was viewed — never your images, their names, or anything in them.
Why Compress Images Before Uploading Them?
- Pages load faster. Images are usually the heaviest thing on a web page by a wide margin, and oversized ones are the most common reason a site feels slow.
- Mobile visitors benefit most. On a patchy connection or a limited data plan, a 4 MB hero image is the difference between a page that appears and one that gets abandoned.
- Upload limits stop blocking you. Forms, job portals, marketplaces and email attachments all cap file size, and a compressed copy usually slips comfortably under.
- Storage and bandwidth cost less. Across a whole site or a large library, the difference adds up.
- Attachments actually arrive. Several large photos will bounce off most mail servers; compressed ones go through.
Image Compression for Websites
A few habits do most of the work.
- Match the size to the space. A 4000-pixel-wide photo displayed in an 800-pixel column wastes most of its data. Resize first, then compress — that order saves far more than either alone. The optional resize control above is there for exactly this.
- Use WebP where you can. Browser support is universal now, and it is usually smaller than JPEG or PNG at comparable quality.
- Pick the format by content. Photographs lossy, flat graphics and transparency lossless. Getting this wrong costs more than any quality setting.
- Keep the originals. Compress copies. You cannot undo lossy compression, and you will want the originals when a redesign needs bigger images.
- Check on a real device. Quality that looks fine on a laptop can look rough on a high-density phone screen.
Compression is not an SEO trick in itself — there is no ranking bonus for a smaller file. What it does is make pages faster for real people, and that is worth doing on its own terms.
Reference: For how browsers actually handle JPG, PNG and WebP, see MDN’s image file type and format guide.
One habit worth forming: run the image compressor as the last step before upload, not the first. Crop and resize in your editor, export once at the dimensions you actually need, and let the image compressor squeeze the final file. Compressing early and then resizing means you pay the quality cost twice for no extra saving.
Frequently Asked Questions
What is an image compressor?
A tool that rewrites an image file so it takes up less space. Some methods keep every pixel exactly; others discard detail you are unlikely to notice in order to go much smaller.
How do I compress an image?
Drop it on the box above or press Choose Images, pick a quality setting, and press Compress. You will see the original and compressed sizes side by side, and can download the result.
Can I compress JPG images?
Yes, and JPEG is where this works best. Your browser re-encodes the photo at the quality you choose, and the file stays a JPEG.
Can I compress PNG images?
Yes, with an honest caveat. Browsers cannot re-encode a PNG at a chosen quality the way they can a JPEG, so keeping the PNG format often yields only a small saving. Converting to WebP usually shrinks it dramatically and keeps transparency — the choice is yours, in the PNG output setting. If keeping PNG produces no saving, the tool keeps your original file and tells you.
Can I compress WebP images?
Yes. WebP files are re-encoded as WebP at your chosen quality, and transparency is preserved.
Does image compression reduce quality?
Lossy compression discards some detail, so technically yes. Between quality 75 and 85 most photographs look unchanged at normal viewing size while the file drops sharply. Below about 50 the loss becomes visible, especially in skies, gradients and around text.
What is the best image size for a website?
There is no single number, but the useful rule is to match the pixel dimensions to the space the image occupies, roughly doubled for high-density screens. A photo shown 800 pixels wide rarely needs to be more than about 1600 pixels. Get the dimensions right first; the file size then usually takes care of itself.
Does Etemora store my images?
No. Compression happens entirely in your browser. Your images are not sent to Etemora, not passed to any third-party service and not saved anywhere.
Is this image compressor free?
Yes. Free, no account, no watermark and no limit on how many images you compress.
Can I compress multiple images at once?
Yes. Add as many as you like and press Compress All. Each image is handled independently, so if one file fails the rest still finish, and you can download them individually or as a ZIP.
What is the difference between image compression and resizing?
Compression stores the same picture more efficiently and leaves the pixel dimensions alone. Resizing changes the dimensions themselves. This image compressor never resizes unless you explicitly turn it on — but for web use, resizing first and then compressing usually saves far more than either on its own.
Can I compress a GIF?
Not here. Compressing an animated GIF in a browser canvas would flatten it to a single frame and silently destroy the animation, so the image compressor declines GIF files rather than quietly ruining them.